.avif)



What Is the Temperature Danger Zone? Ranges, Time Limits, and Controls

The temperature danger zone is the range in which bacteria multiply fastest in food. You will see it written two ways: 40°F to 140°F, and 41°F to 135°F. Both are correct, they come from different regulatory documents, and the one that applies to you depends on what kind of operation you run.
If you work in a food manufacturing facility, that distinction matters more than it first appears. A general awareness of the danger zone is enough for a home cook. A documented, defensible critical limit is what an auditor expects from you.
This guide covers both ranges and where each comes from, the time limits that apply, the thresholds at every stage of production, the cooling rule that catches most facilities out, and how to turn all of it into a control you can actually evidence.
What Is the Temperature Danger Zone?
The temperature danger zone is the temperature band where pathogenic bacteria grow quickly enough to make food unsafe within a practical amount of time. Below it, growth slows dramatically or stops. Above it, the heat begins to destroy the organisms rather than help them.
The USDA Food Safety and Inspection Service defines it as 40°F to 140°F (4°C to 60°C). The FDA Food Code defines the equivalent band as 41°F to 135°F (5°C to 57°C). The next section explains why.
Food held in this range is not automatically unsafe. Risk is a function of temperature and time together, which is why every rule about the danger zone comes paired with a clock.
Why Bacteria Multiply Fastest in This Range
Most foodborne pathogens are mesophiles, meaning they thrive at temperatures close to the human body. Inside the danger zone, some species double in number roughly every 20 minutes. A single cell becomes millions within a shift.
Temperature is only one of the conditions bacteria need. The FATTOM model covers the full set: food, acidity, time, temperature, oxygen and moisture. Controlling temperature is the most practical lever on a production floor, which is why it dominates monitoring programmes.
The Big 6 foodborne pathogens all grow within this band, and some, such as Listeria monocytogenes, continue growing at refrigeration temperatures well below it. The USDA Agricultural Research Service Pathogen Modeling Program publishes growth models for specific organisms under defined conditions.
Is the Temperature Danger Zone 135°F or 140°F?
Both numbers are correct. They come from two different documents written for two different audiences, and neither one overrides the other.
The 140°F figure comes from USDA FSIS consumer-facing guidance. The 135°F figure comes from the FDA Food Code, which sets the hot holding minimum at 135°F and is the model regulation that state and local health departments adopt for retail and foodservice.
Where 140°F Comes From
USDA FSIS publishes food safety guidance for consumers and for the meat, poultry and egg products it regulates. Its danger zone guidance uses 40°F to 140°F. The upper figure carries a built-in margin, which suits general consumer advice where nobody is calibrating a thermometer or timing a hold.
Where 135°F Comes From
The FDA Food Code sets 135°F as the minimum hot holding temperature for time/temperature control for safety foods. The Food Code is revised on a regular cycle and is adopted, with variations, by state regulators. If your operation is inspected against a state food code, 135°F is almost certainly the number in play.
The lower bound differs too. USDA uses 40°F, the Food Code uses 41°F. The gap is small but it is the difference between a passing and a failing reading if your limit sits exactly on the line. For background on who writes and maintains this document, see our guide on who produces the Food Code.
Which Number Should Your Facility Use?
| Source | Range | Applies to | Governing document |
|---|---|---|---|
| USDA FSIS | 40°F to 140°F | Consumer guidance; meat, poultry and egg products under FSIS jurisdiction | FSIS food safety guidance |
| FDA Food Code | 41°F to 135°F | Retail food and foodservice, as adopted by state and local regulators | FDA Food Code |
| Your facility | Whatever your food safety plan validates | Your specific products and processes | Your HACCP or food safety plan |
That third row is the one that governs you. A manufacturing facility operating under 21 CFR Part 117 does not inherit a danger zone from a consumer web page. You set critical limits based on your own hazard analysis, and those limits have to be validated for your products.
Most manufacturers set limits tighter than either published range, precisely so that normal variation does not push a reading out of specification.
The 2-Hour and 4-Hour Rules Explained
Time in the danger zone is cumulative, and the rules that govern it are simple to state and easy to get wrong in practice.
The 2-hour rule says that ready-to-eat food held in the danger zone should be refrigerated or used within two hours. Past four hours, it should be discarded. Between two and four hours, food can still be used but should not go back into refrigerated storage for later use.
The 1-hour rule applies when ambient temperature is above 90°F. In a hot production area or a loading dock in summer, the window halves.
How Cumulative Time Works Across a Shift
The clock does not reset when product goes back into the cooler. If a tote sits on the floor for 45 minutes during a line changeover, goes back into chilled storage, then comes out again for 50 minutes, it has accumulated 95 minutes, not 50.
This is the single most common misunderstanding about the danger zone in a manufacturing environment, and it is why time-stamped records matter more than spot readings. A reading tells you the temperature at one moment. A record tells you how long the product has been exposed.
Temperature Thresholds at Every Stage
Published danger zone ranges describe a band. Running a facility requires specific numbers at specific points.
| Stage | Typical threshold | Notes |
|---|---|---|
| Receiving, refrigerated | 41°F or below | Reject or quarantine above limit; check at the point of delivery |
| Receiving, frozen | 0°F or below, no evidence of thawing | Look for ice crystals and package condition |
| Cold storage | 41°F or below | Monitor ambient and product temperature, not just the display |
| Cold holding, in process | 41°F or below | Exposure time on the floor counts toward cumulative limits |
| Hot holding | 135°F or above | Applies where product is held hot before packing or filling |
| Cooking or thermal process | Product and process specific | Set by your validated thermal process, not by a general table |
| Cooling | Two-stage rule, see below | The most commonly failed control |
| Shipping | Product specific, verified at load | Record trailer temperature before and at load |
These are general industry reference points. Your validated critical limits come from your own hazard analysis and food safety plan, and they should be tighter than the regulatory minimum.
Receiving deserves particular attention because it is where you still have the option to reject. Once material is accepted and put away, a temperature abuse problem becomes yours. Our guide to receiving inspection covers what to check and how to record it, and FEFO stock rotation covers what happens to it afterwards.
The Two-Stage Cooling Rule
Cooling is where most temperature control programmes fail, and it gets remarkably little attention relative to that risk.
The two-stage rule requires cooked product to drop from 135°F to 70°F within two hours, and then from 70°F to 41°F within a further four hours. Total elapsed time is six hours, but the two stages are not interchangeable.
Why the First Stage Is Where Facilities Fail
The first stage is the tight one. Two hours to shed 65°F is demanding for anything dense, anything in a deep container, and anything with a high fat content that holds heat.
If you miss the two-hour mark, you cannot make it up in the second stage. The rule is not a six-hour total with flexibility inside it. Missing stage one means the product spent too long in the range where spore-forming organisms such as Clostridium perfringens germinate and multiply, and no amount of fast chilling afterwards undoes that growth.
A Worked Cooling Example
A batch of cooked sauce comes off the kettle at 190°F at 14:00.
By 15:00 it should be well below 135°F, since the clock on stage one starts when the product passes through 135°F on the way down. Say it reaches 135°F at 14:20. Stage one now runs to 16:20, and the product must be at or below 70°F by then.
A check at 15:30 shows 96°F. That is on track. A check at 16:20 shows 74°F. That is a deviation, and it needs recording and actioning, not rounding down. Stage two would then run to 20:20 for the product to reach 41°F, but the stage one failure has already triggered an assessment.
Methods That Actually Hit the Curve
Depth is the main variable you control. Shallow pans, smaller batch volumes and reduced fill depth do more for cooling rate than almost anything else. Ice wands, blast chillers, jacketed vessels and cold-water immersion all work, and splitting a batch before cooling is the cheapest intervention available. What does not work is leaving a full, deep container in a walk-in and assuming the ambient temperature will do the job.
Making the Danger Zone a Documented Critical Limit
Knowing the danger zone is background knowledge. A critical limit is a specific, measurable value at a specific point in your process, and it is what an auditor actually asks about.
Setting the Limit
A critical limit is the value that separates safe from potentially unsafe product at a critical control point. It has to be measurable in real time, and it has to be validated, meaning you hold evidence that the limit reliably controls the hazard.
Build in a margin. If the regulatory threshold is 41°F, setting your critical limit at 41°F means every normal fluctuation becomes a deviation. Setting an operating target of 38°F with a critical limit at 41°F gives your team room to correct a drift before it becomes a recorded failure.
The seven HACCP principles cover how limits, monitoring and corrective actions fit together, and our guide to building a HACCP plan covers how to document the whole thing.
Monitoring Frequency and Who Records It
Frequency should reflect how quickly the hazard can develop and how quickly you would detect a problem. Continuous monitoring with a data logger is the strongest option. Scheduled manual checks are acceptable where the gaps between them are justified.
Name the role responsible for each check, not just the task. A monitoring procedure that does not say who takes the reading tends to produce records with gaps in them on night shifts and weekends.
What 21 CFR Part 117 Expects
21 CFR Part 117 requires facilities to identify hazards requiring a preventive control, implement that control, monitor it, take corrective action when it is not met, and verify that the whole system works. Temperature is one of the most common process preventive controls in the rule's scope.
The rule expects records. A control you cannot evidence is difficult to distinguish from a control you did not apply.
What to Do When a Reading Falls Out of Range
A reading of 48°F in a cooler specified at 41°F is not a filing problem. It is a decision point with a product consequence.
Control the product first. Identify what is affected, including anything made before and after if the deviation could have been running for a while, and physically segregate it so it cannot move while you assess.
Then work out how long the deviation lasted. This is where continuous monitoring earns its cost, because a single spot reading tells you almost nothing about duration. Without duration, you are assessing blind and will usually have to take the conservative route.
Documenting the Deviation and the Corrective Action
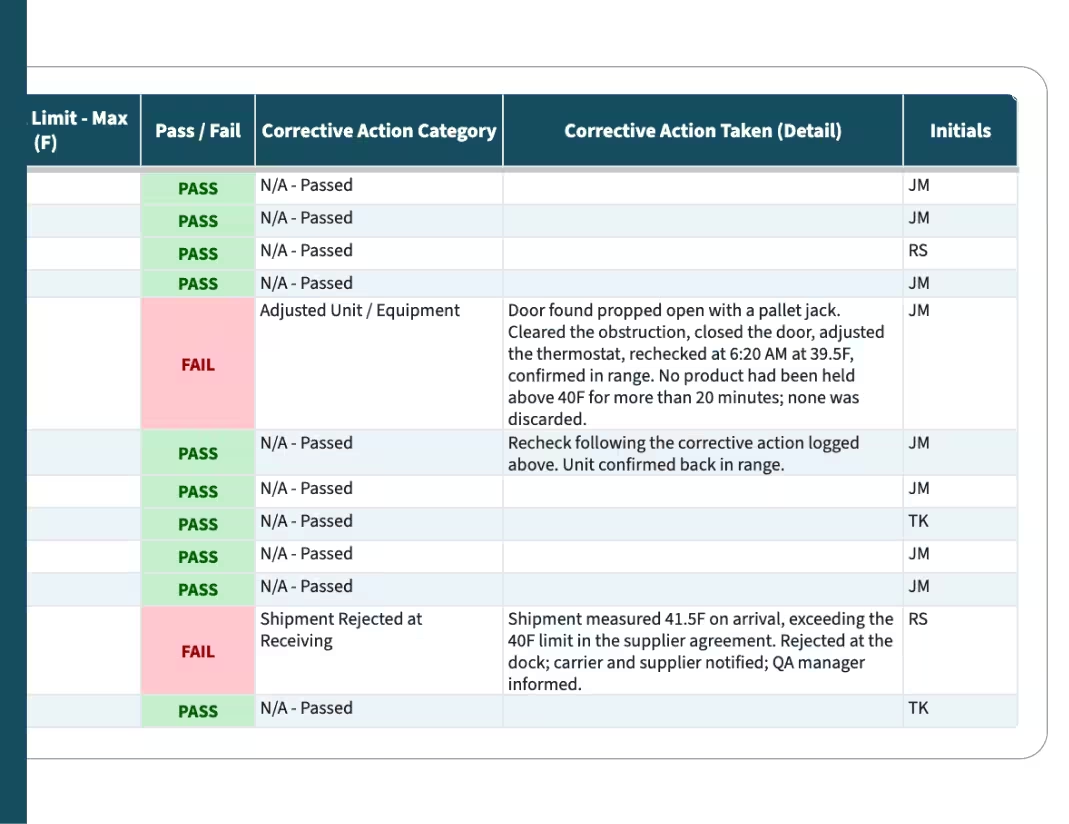
Record what was found, when, by whom, what the reading was, what the limit was, and what happened to the product. Then record the correction, which deals with this occurrence, and the corrective action, which stops it recurring. Our guide to building a corrective action plan covers the distinction in detail.
A deviation record with no product disposition is one of the most common findings raised against temperature monitoring programmes.
When the Deviation Becomes a Hold Decision
Hold when you cannot establish duration, when the product is ready to eat and supports pathogen growth, when the deviation crosses a validated critical limit rather than an operating target, or when the affected product has already moved downstream.
Release decisions should be made by someone with the authority and the technical basis to make them, and the justification should be written down at the time rather than reconstructed later.
Monitoring and Record-Keeping Auditors Actually Check
Auditors rarely start with your critical limits. They start with your records, because records show whether the system runs when nobody is watching.
Expect scrutiny on completeness, particularly across shift handovers, weekends and holidays. Gaps are the first thing an auditor looks for. They will also check that thermometers are calibrated on a schedule, with records, and that the calibration covers the range you measure in. A thermometer calibration log that stops three months ago undermines every reading since.
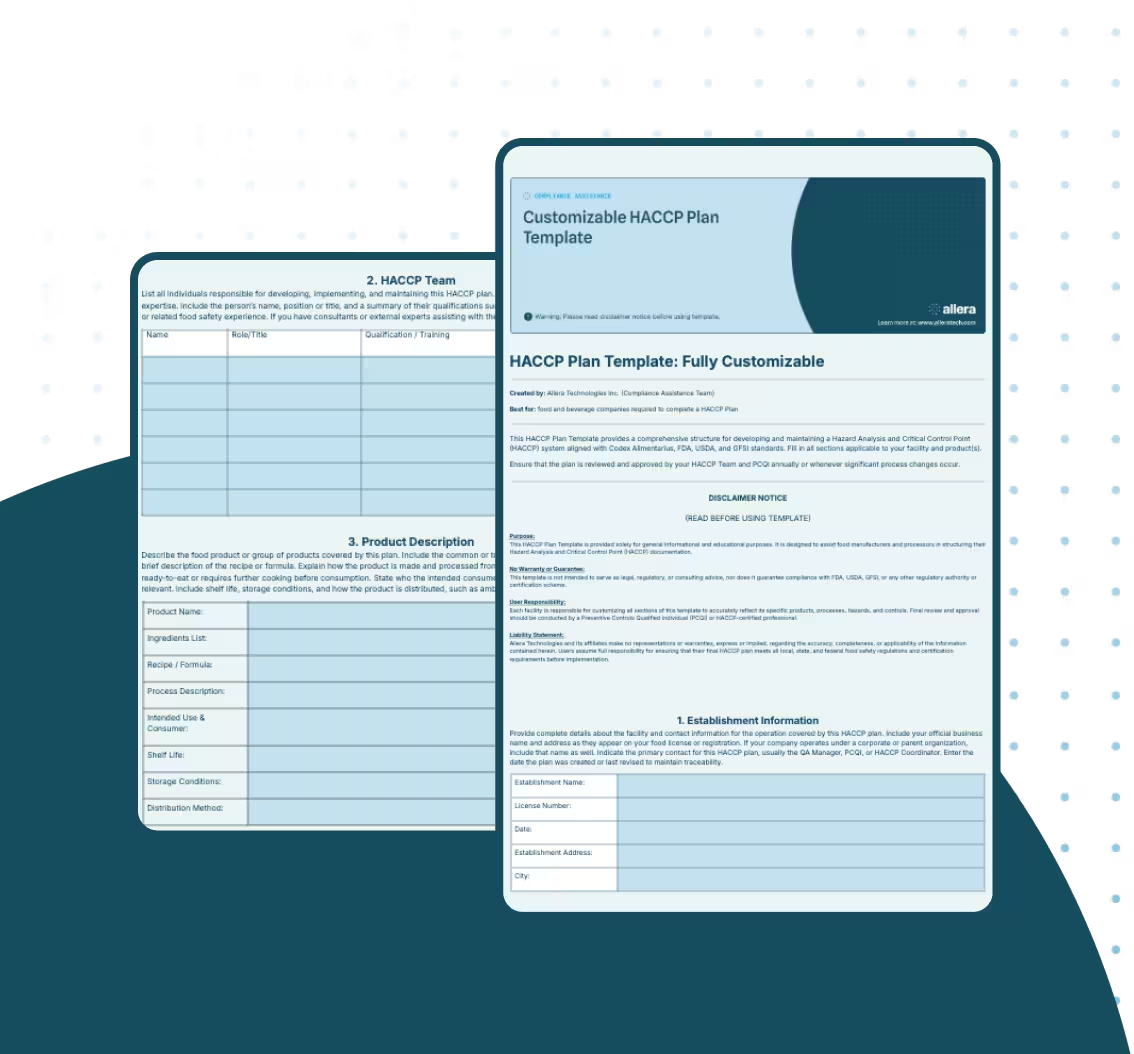
Other common findings include readings recorded in identical handwriting across a whole month, values that never vary, corrections made without initials, and deviations logged with no follow-up. A temperature log template that pairs every reading with its limit and a pass or fail result makes most of these problems visible before an auditor finds them.
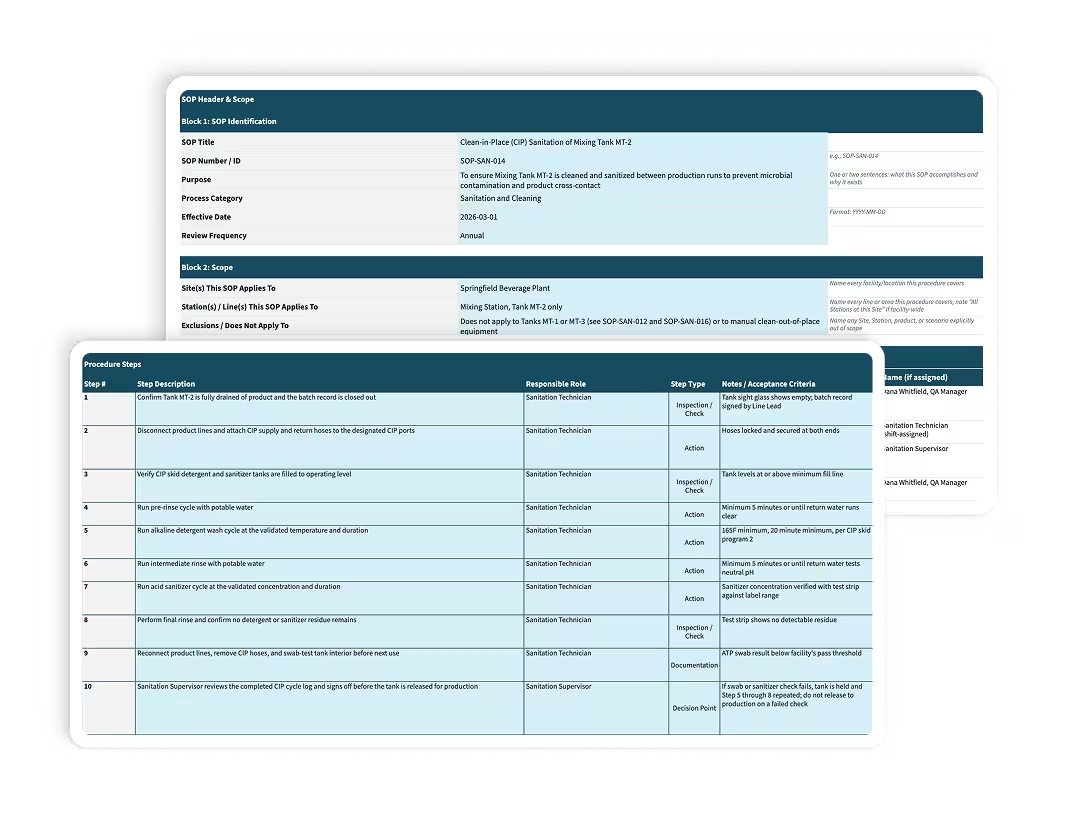
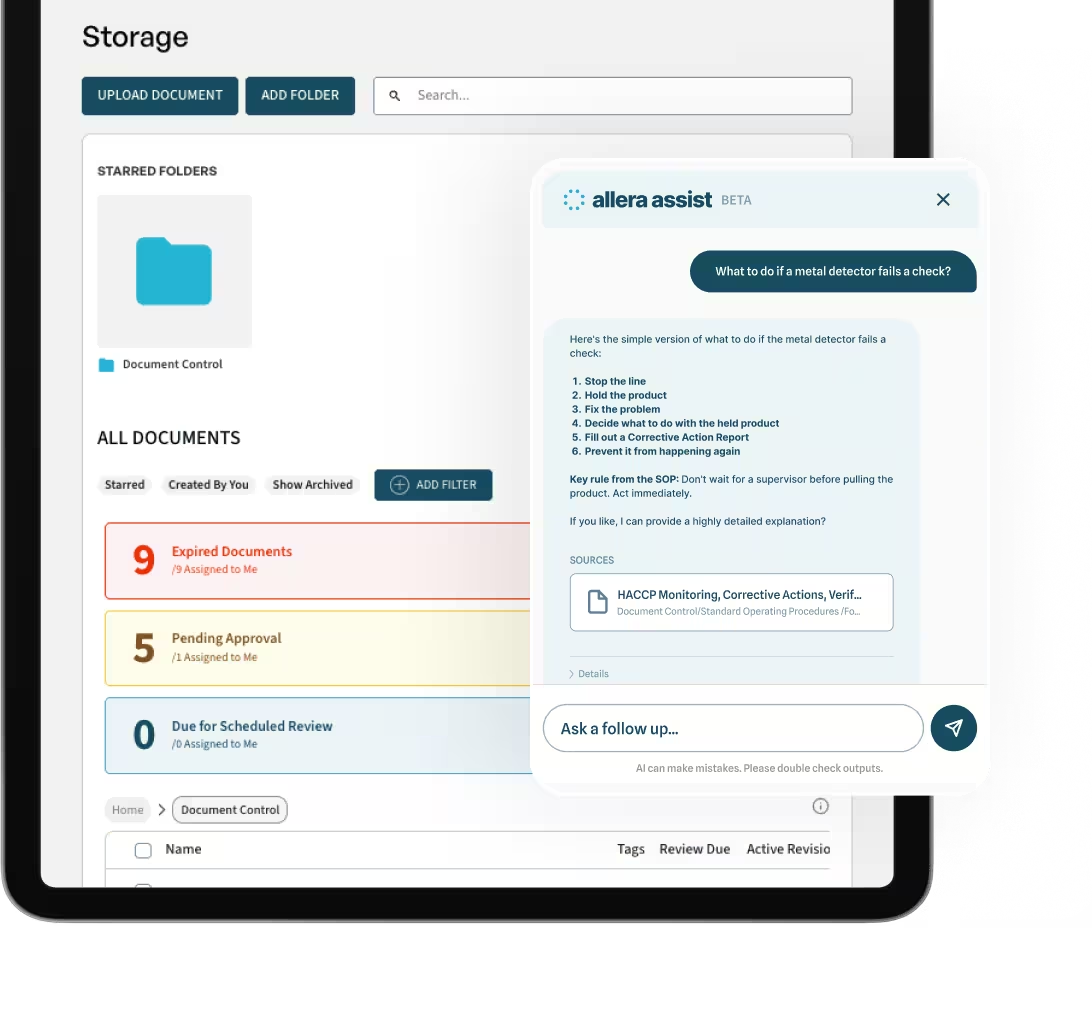
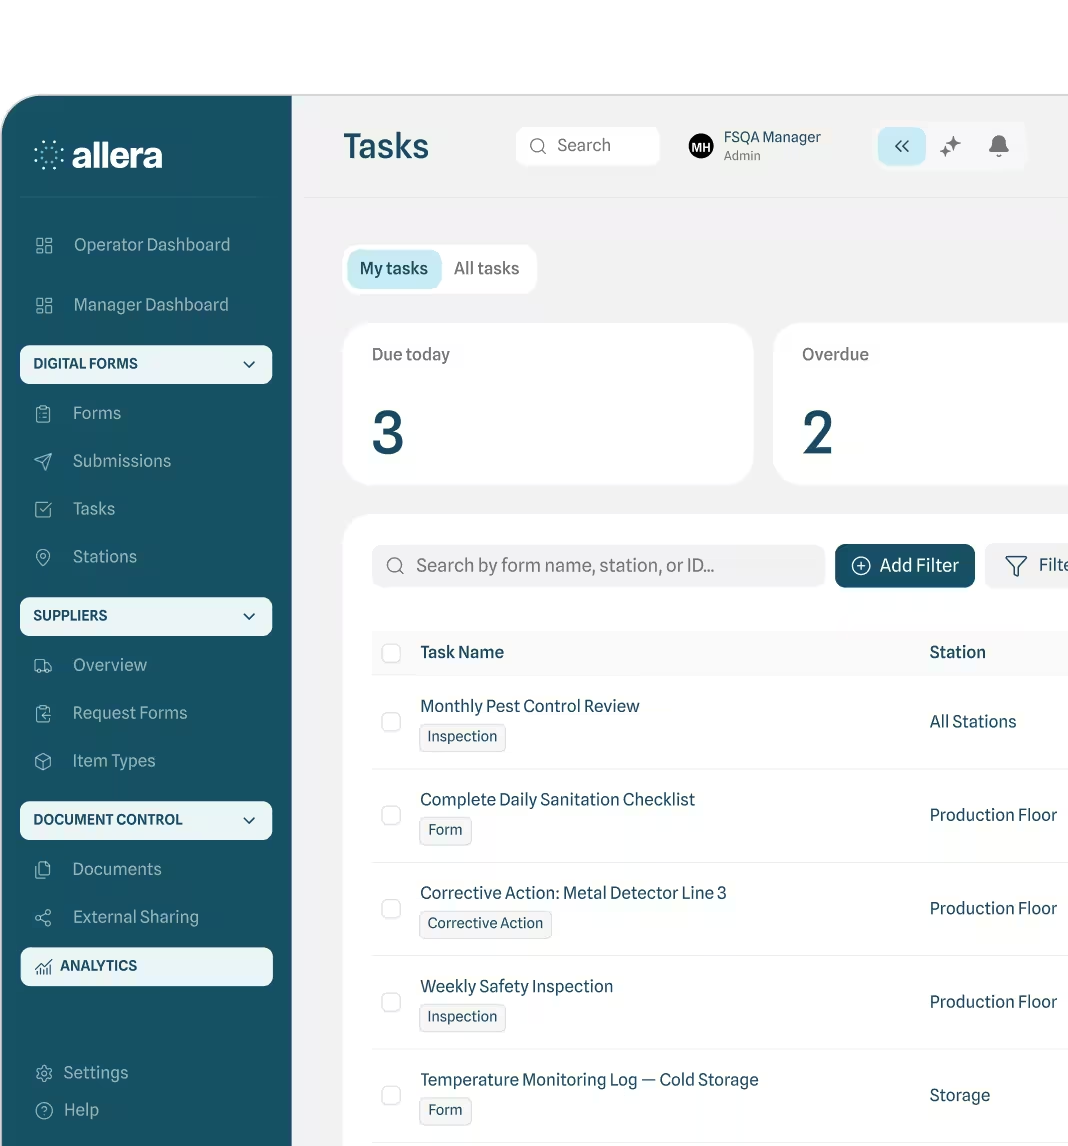
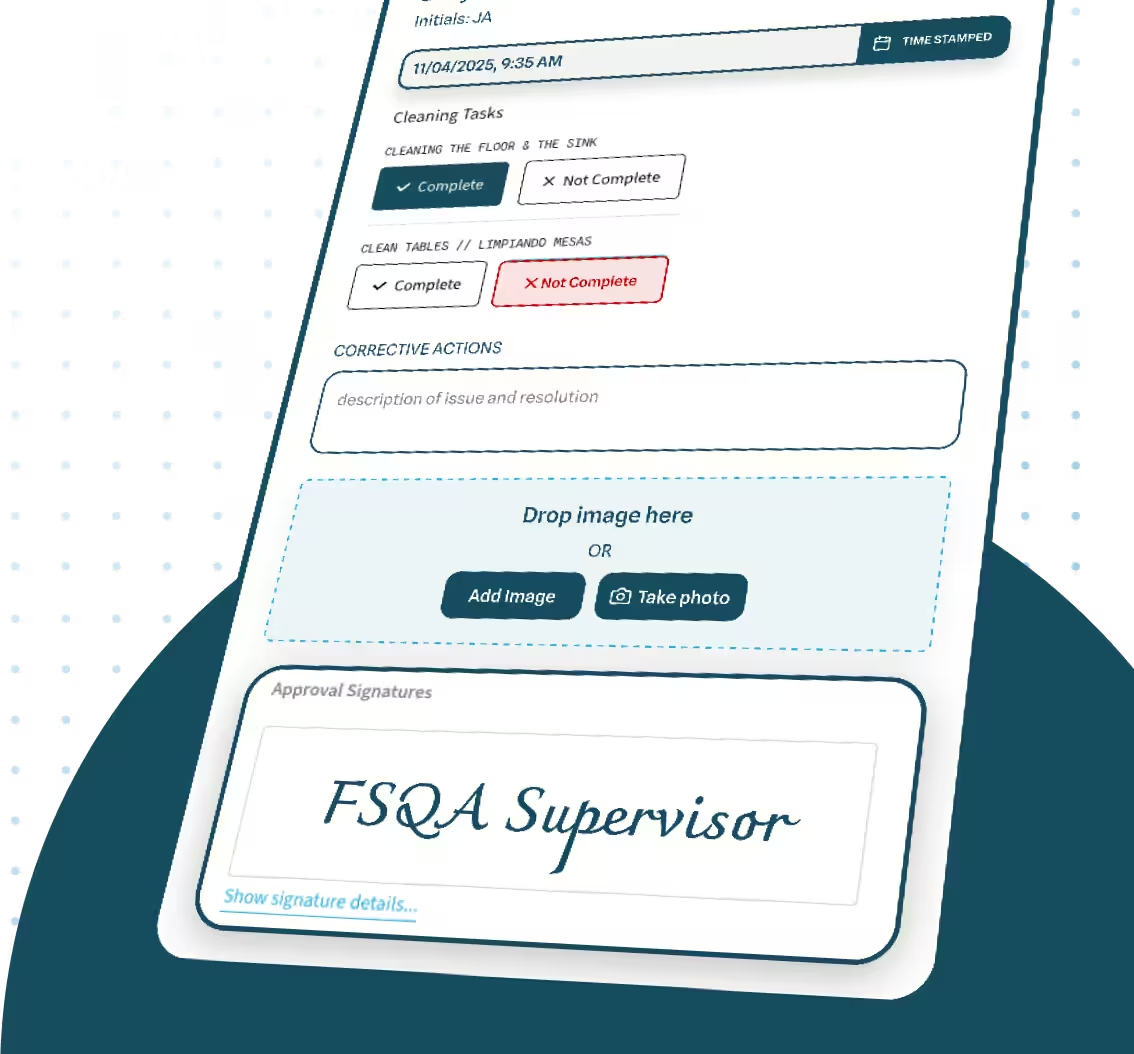
Paper logs create a specific problem: the person who needs to act on a failed reading is usually not the person who wrote it down, and a clipboard on a wall does not notify anyone. Allera replaces paper quality forms with digital forms that apply your failure rules at the point of entry, and when a rule fails, a Corrective Action follow-up task is created automatically. See the food quality management software page for how that works.
How the Danger Zone Maps to SQF, BRCGS and FSSC 22000
Certification schemes do not publish their own danger zone. They require you to identify temperature hazards, control them, monitor the controls and evidence all of it.
SQF Food Safety Codes, now at Edition 10, require validated critical limits with monitoring records and documented corrective action. BRCGS Issue 9 covers temperature control under process control and requires evidence that equipment is capable of holding the specified conditions. FSSC 22000, now at Version 7, follows ISO 22000 in requiring control measures to be categorised and validated.
The practical consequence is the same across all three. You need a defined limit, a defined monitoring method and frequency, calibrated equipment, records, and a documented response when the limit is breached. Our comparison of GFSI, SQF and BRCGS covers how the schemes differ in structure.
Bringing It Together
The temperature danger zone is straightforward as a concept and demanding as a control. The range gives you the boundary, the time rules tell you how long you have, and the cooling curve is where most programmes come apart.
What turns it into a defensible control is documentation: a validated limit with a margin, a monitoring method with a named owner and a frequency, calibrated equipment, complete records, and a recorded response every time a reading falls out of range.
If your temperature records currently live on clipboards and get reviewed days later, see how Allera's food quality management software turns temperature checks into digital forms that flag failures as they happen.
FAQs
What happens if product sits in the danger zone overnight?
Treat it as unsafe and place it on hold. An overnight exposure comfortably exceeds any four-hour limit, and there is no way to verify what happened during that window.
Document the deviation, the assessment and the disposition. A deviation record with no product disposition is one of the most common findings raised against temperature monitoring programmes.
How often should temperatures be checked in a manufacturing facility?
There is no universal frequency. It should reflect how fast the hazard can develop and how much product is at risk between checks.
Continuous logging on critical storage and process steps is common, with manual verification checks at defined intervals. Whatever frequency you choose has to be justified in your food safety plan and actually performed, because gaps in the record are the first thing an auditor looks for.
What is the temperature danger zone in Celsius?
4C to 60C using the USDA FSIS range, or 5C to 57C using the FDA Food Code range.
What is the temperature danger zone according to ServSafe?
ServSafe teaches 41F to 135F, which aligns with the FDA Food Code.
Its audience is retail and foodservice operating under state-adopted food codes, so it follows the Food Code numbers rather than the USDA FSIS consumer figures.
What is the danger zone temperature?
The temperature danger zone is the band where pathogenic bacteria grow fastest, cited either as 40F to 140F (USDA FSIS) or 41F to 135F (FDA Food Code).
Food in this range is not automatically unsafe. Risk depends on temperature and time together, which is why every danger zone rule comes with a clock attached.
What is the 2 hour 4 hour rule?
Ready-to-eat food held in the danger zone should be refrigerated or used within two hours. Between two and four hours it can still be used but should not go back into refrigerated storage for later use. Past four hours it should be discarded.
Above 90F ambient, the first window shortens to one hour. Time is cumulative across the whole day, not per exposure, so a tote that sits out twice accumulates both periods.
Is the danger zone 135 or 140?
Both are used, and they come from different documents. USDA FSIS consumer guidance says 40F to 140F. The FDA Food Code sets hot holding at 135F, which gives a 41F to 135F band.
USDA's figure carries a wider safety margin because it is written for consumers. Your facility should work to critical limits set by your own validated food safety plan, which are usually tighter than either published range.
.avif)
.avif)
.avif)
.avif)
%20(1).avif)
.avif)
.avif)

%20(1).png)

.avif)


.avif)